
How to Finish Bronze
When it comes to bronze the finishing process is just as important as the forging process. There are many methods to finish bronze that you can use. Although this is not an exhaustive guide, it will provide you with a good starting point.
Step 1: Chemical Cleaning -
This step is optional. I often use it when I create small jewelry pieces. I use white vinegar to clean the bronze. I leave the part in the vinegar for an hour and then check if it is effective. It doesn’t always clean the fire scale, so if the vinegar doesn't work, I use jeweler's pickle, which is a strong acid that works best when heated. You can buy jeweler's pickle from expensive jewelry suppliers or use a cheaper alternative called PH Down, which is a pool cleaner made of sodium bisulfate. In the US you can buy it from the hardware store. I'm not exact with the ratios, but I estimate based on what I'm cleaning. Begin by adding about 1 Tablespoon for every cup. You can always increase the ratio if needed.

After you let it soak, some light scrubbing with a hard bristled or wire brush may be needed. Rinse the vinegar off with soap and water. For PH down I neutralize the acid with a bath of baking soda before rinsing.
In the past I’ve used a combination of muriatic acid and hydrogen peroxide when etching bronze. It’s a nasty mix of chemicals but works incredibly well as an etchant and I am sure it can work for cleaning too.
Step 2: Mechanical Cleaning
This is the first step for larger pieces. The hot forge can change the bronze's color in a way which can be desirable in large architectural pieces. By using a wire brush can clean off the surface while leaving large areas of texture darker which is great for contrast. I use the wire brush on an angle grinder most of the time, but occasionally it removes too much texture, so I use a die grinder instead.
For smaller jewelry pieces, I use a wire brush after I chemically clean it. I use Dremels attachment for most jewelry pieces because bronze is so soft and delicate. A bigger machine will ruin the texture.
For large architectural pieces, instead of a wire brush I will use finishing pads on an angle grinder for areas with less texture. For the finishing pads I prefer the brand Walter Quik-Step because the peg on the backing attachment keys into a hole on the finishing pads that prevents the attachment from flying off the velcro pad. Unfortunately they are often shipped to you shrink wrapped and bent which means they are defective. About half the pads are unusable, in my experience. If anyone knows of a better product out there I’d love to hear about it.

Step 3: Buff - If you want to refine the surface even further, you can use a soft gray pad called a Pearl Ultra fine finishing pad. This will give you a smooth finish with few marks, which is perfect if you want to showcase a natural bronze patina. If you want a polished finish, you can use buffing pads with jeweler’s rouge on an angle grinder a bench-mounted jewelry buffing wheel for smaller parts. I’ve had great success with these attachments. However, they are very loose and send tiny fibers into the air. Do not use without proper ventilation and a respirator.
It's important to note that buffing wheels are one of the most dangerous tools in a shop. Other blacksmiths have died while using them, so it's crucial to take care when using this machine. Only use it if you're trained and avoid buffing anything that can easily catch on the wheel.
You can achieve a mirror finish starting by sanding in a coarse grit. You work the surface down until the scratches of that grit are all a uniform depth. Then you move to a finer grit. Sand until all the previous scratcher are no longer visible and then move to a finer grit. Repeat until you are at a grit of at least 2-3000. For instance I might start at 80 grit, then move to 120, then 220, 400, 600, 1000, 1500, 2000, 3000. The last step is to buff with a fine polishing pad and jeweler’s rouge. It’s a technique that I haven’t had much patience for, so I would suggest doing further research before you start.

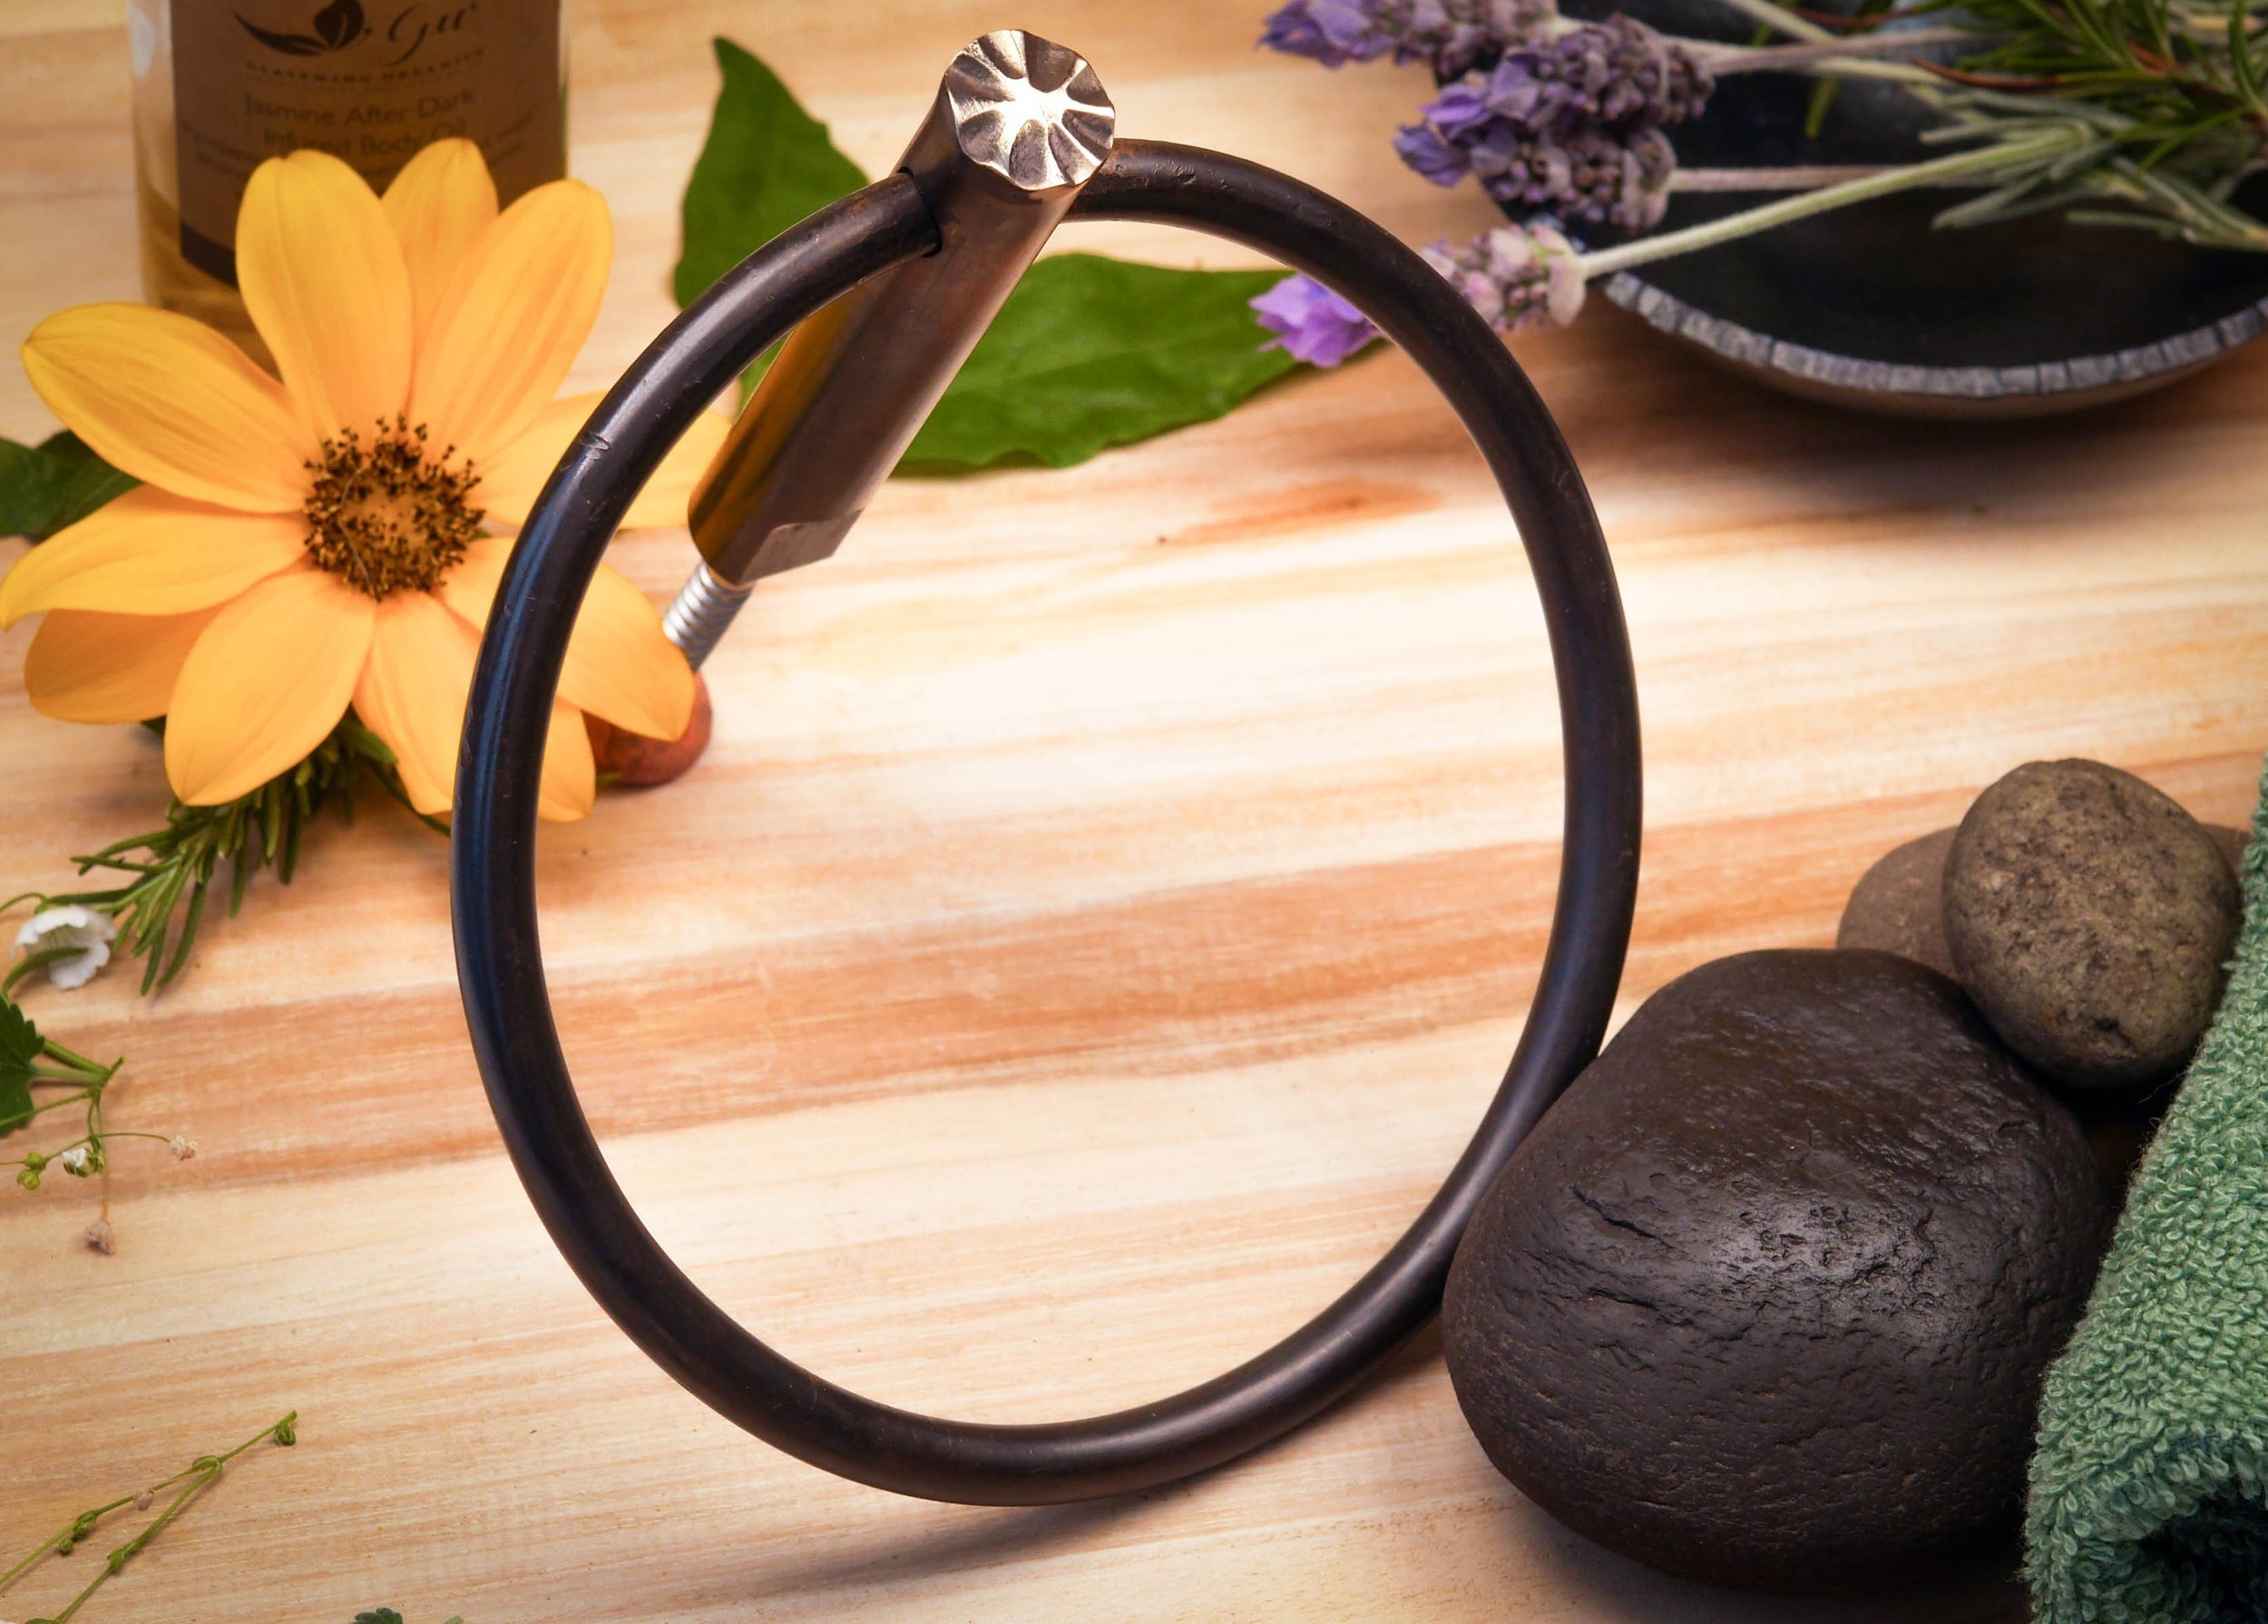
(Person using a Dremel to buff a brass ring. Photo by Maksim Goncharenok)
For very small items there are many attachments for die grinders and Dremels that are good for polishing.
Step 4: Patina
A patina refers to the surface treatment of the metal. It may be a chemical patina or just the colors that develop on the surface over time. There are countless ways to patina bronze. There are entire books dedicated to the subject, including recipes for creating your own patinas. One of the most traditional patinas for bronze is Ferric Nitrate, a chemical patina that is applied while the metal is hot. I heat the metal with an oxy propane torch. A weed burner also provides enough heat for this process.
Heat the metal on a brick or in a vice until you see the water evaporate. Once the water has evaporated, you can spray on the patina. Oranges and light browns are desirable, and you may also achieve lovely purple hues. However, professional finishers often consider dark browns and purples to be burnt. I recommend experimenting to create whatever finish you enjoy the most.
Other popular patinas, such as ferric chloride (brown) and cupric nitrate (blues and greens), are also applied using the same method. I prefer to buy my patinas premixed and ready to spray from the company Sculpt Nouveau.

For small parts, I usually soak them in an antique brown patina that I also purchase from Sculpt Nouveau. Although you can spray on this finish, it usually does not apply evenly unless you soak the parts in a bath. Additionally, Sculpt Nouveau offers other fun colors such as Tiffany Green, white, and purple patinas. For a good black finish, I use a dark brown patina and then darken the color with black wax.
Sculpt Nouveau has a great You Tube channel. It has video instruction for many of it’s finishing processes. I think it’s really helpful to watch their videos before giving the finishing process a try.
Step 5: Wax
The final step is to wax the parts. I usually use beeswax or a carnuba wax applied after the patina while the metal is still hot. Give the metal a moment to cool slightly first, if it burns or evaporates, the metal is too hot. The wax will create a beautiful shine and will even out the patina colors. It may also remove some of the patina so apply carefully using a chip brush with natural bristles.
Sculpt Nouveau carries a soft wax that can be applied when the metal is color. After you apply the wax you wait for it to harden and dry. Immediately buff the wax using the directions on the label.
All of these processes use fire, chemicals and particulates that are hazardous for your health. Read the MSD sheets and follow all safety protocol. Be careful and be safe.

Bronze Foot Rail by Clay and Steel
Finish!
The final result, after you wax bronze, brass or copper, will change over time. This is what designers often refer to as a “living finish”. Brasses become more yellow, bronze and copper tends to become more brown, but the colors and the surface will vary. Most people find this to be desirable. Occasionally people who are used to a manufactured appearance do not like it. (In my experience, those people are not my clients.) Either way you make them aware of how it will change. In salt water environments, such as beach front property, it may turn blue or green and even develop a build up of salt. It will require upkeep but unlike steel, it will not deteriorate.
Please reach out if you have questions. If you decide to give bronze a try, tag me in your social media. I love seeing the creativity of others.